I was recently given a wind up light key fob but unfortunately the internal battery was no longer accepting a charge so constant winding was required. I was unable to turn it at a constant RPM so an unacceptable strobe light effect was produced. I really liked the little light so I decided to crack it open and fix it.


Most little charge up lights I've seen, whether they are solar powered or crank style, don't have a rechargeable battery and simply use a primary cell. Four very small screws later I discovered that is the case here too.


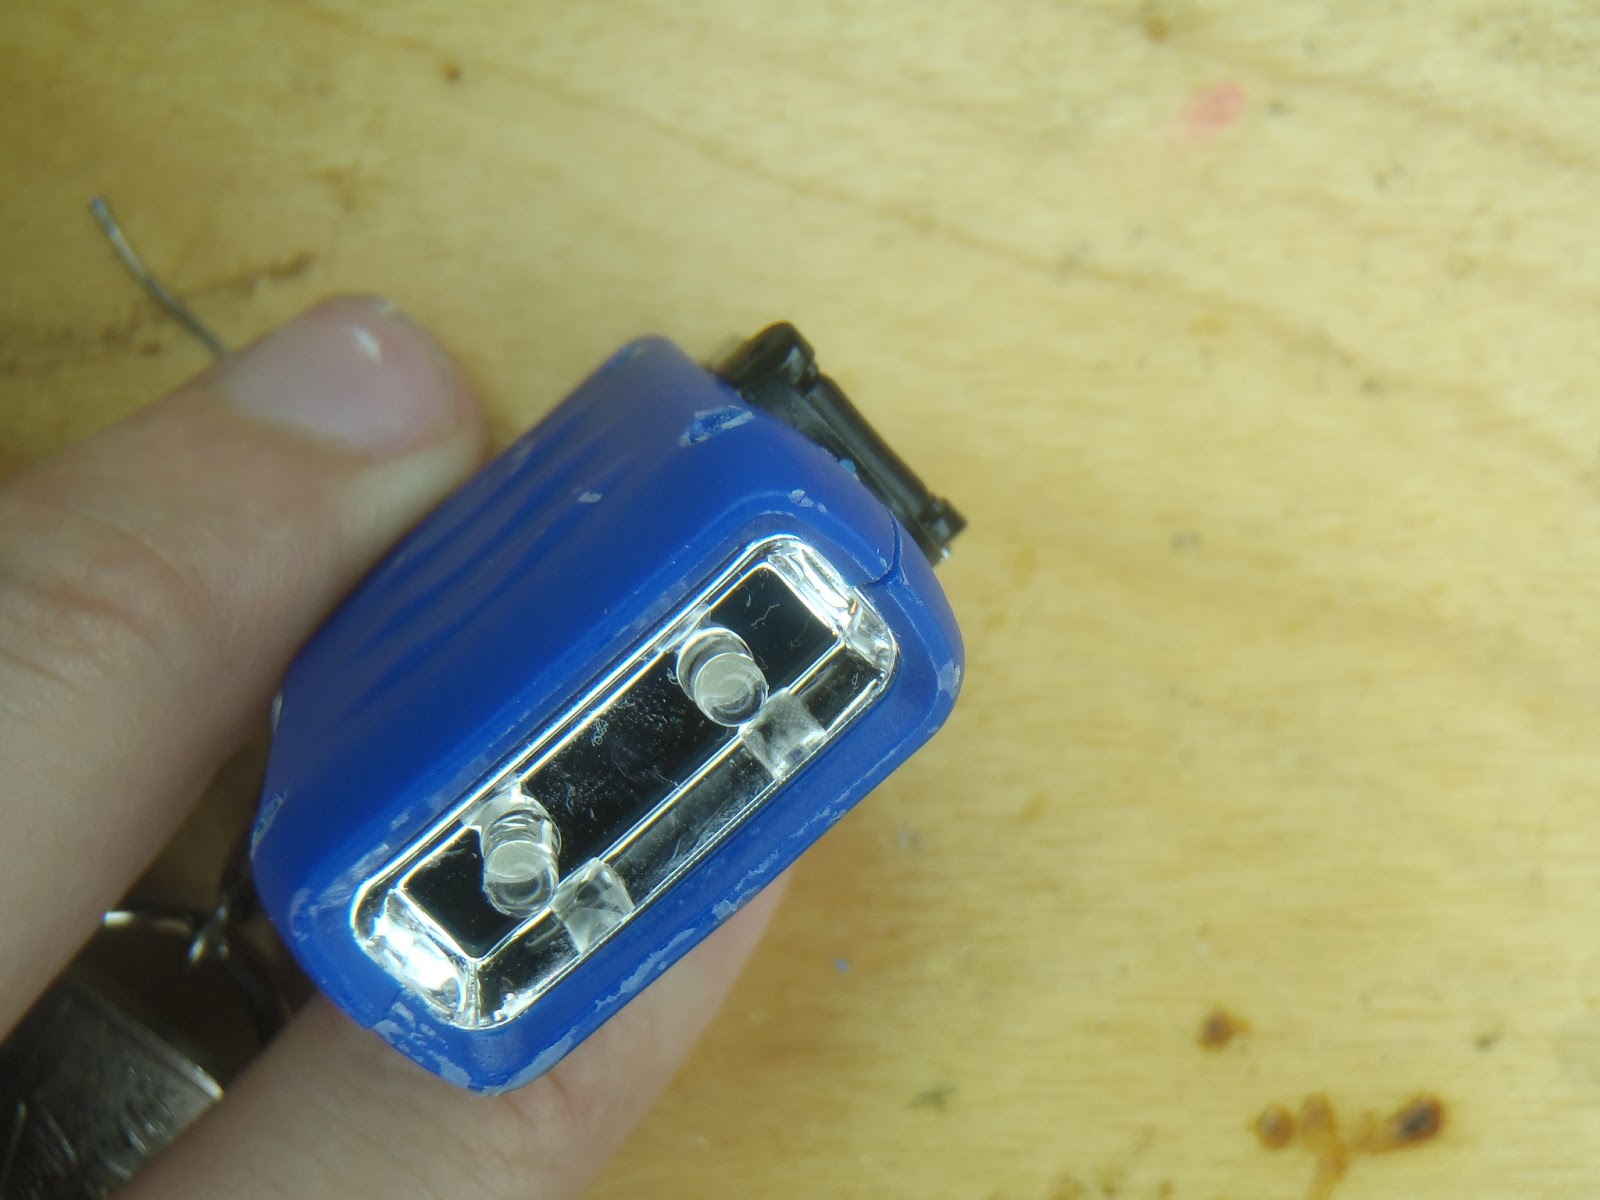
Looking at the PCB I could see the a full wave diode bridge rectifier, yes 4 whole diodes! They spared no expense. They fed into the non rechargeable battery, then the switch made or broke connection to the two LEDs.

It was simply a matter of de-soldering the battery and replacing it with the two ultra-capacitors. I chose to put the two in series so a higher voltage was capable and thus a longer run time. I could have added a joule thief and only one cap but that would have been a lot to cram in there.


Before I soldered the caps in place I first checked to see if they would fit. The answer is no, they would not fit without removing the board and having everything free floating. I didn't want to do that and I have also been trying not to make my projects look like the Borg made it. Cutting a piece of the case away for the caps to hang out of was a no go as well. I decided to try heating the plastic and adding a depression for them to fit into. This wound't look too ugly and should be easy enough to do.


With the caps fitting it was time to screw everything back together and see if it works. Success! About 10-15 fast turns (the faster you turn it the more power is produced) would get about 10 seconds of light. You could also tell when it was fully charged b/c it would start to spin very easily when cranked.
I had a bigger one of these, and it had the same problem. Plus I see them all the time at Goodwill. Maybe I'll try this fix out. If only I had a graphene supercap to put in there!
ReplyDeleteYes it was lucky I had some!
DeleteThose are not graphene super capacitors.
DeleteYour right. They are Electric Double Layer Capacitors from Nichicon.
DeleteDatasheet: http://www.nichicon.co.jp/english/products/pdfs/e-um.pdf
Not a "simple DC motor" The rectifier means that is an actual AC generator.
ReplyDeleteSomeone on the hack-a-day comments suggests it is a DC generator and the full wave diode bridge is so you can turn the handle either direction. I didn't test it to find out since that part works.
DeleteGood tut
ReplyDeleteHow long does it hold the power?
ReplyDelete45-60 seconds before you have to wind it up some more. I keep it in the door pocket of my truck so its the perfect amount of time to look under a seat or the find something in the center console at night.
DeleteHey, I have one of those! I remember opening it up years ago and thinking "wtf" upon finding the non-rechargeable button cell. I wanted to replace it with one of those rechargeable button cells intended for solar-powered wristwatches, but then I tossed it in the parts bin and forgot about it. I guess I should give it a go now.
ReplyDelete